The Woodstock battery is not designed to be refurbished, it is glued shut. Nevertheless since there are no new batteries to be bought, if you want a battery, you need to refurbish an existing one.
The first step is of course cracking the case open without actually damaging the case. This is possible in most instances, in fact I have seen only one instance where the battery was so well put together that the case cracked, but was not separating. No problem, we have a solution for that too.
But first, let’s assume that it can be opened; how? The procedure below is an example.
The battery I am using had its NiCd cells already removed, the original owner simply cut the middle support and took the batteries out. That is not necessary, we can do the job the right way.
If however there are old NiCd batteries in, remember that NiCd batteries are considered hazard and have to be disposed of properly or recycled where facilities exists. Do NOT throw them in the garbage.
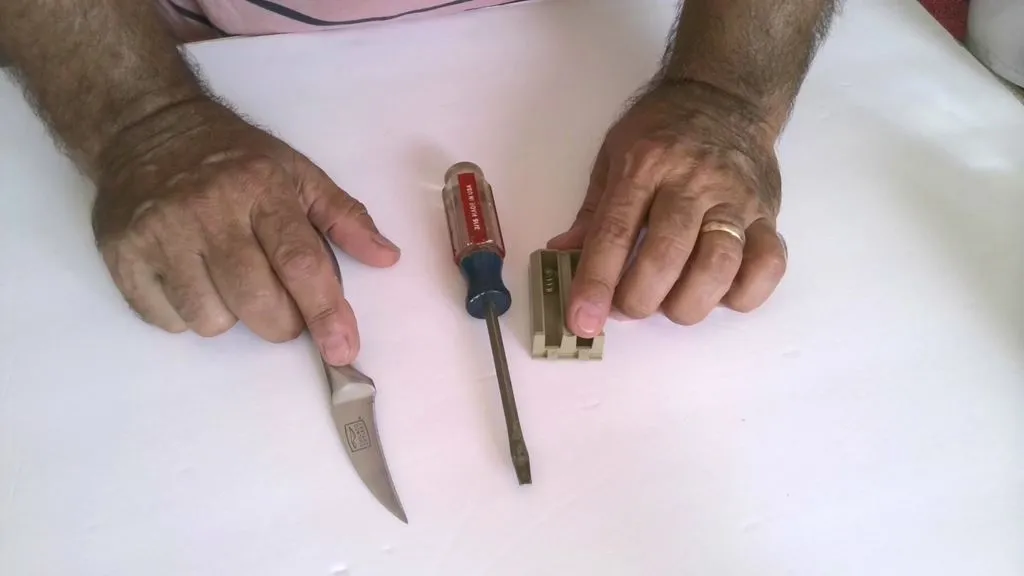
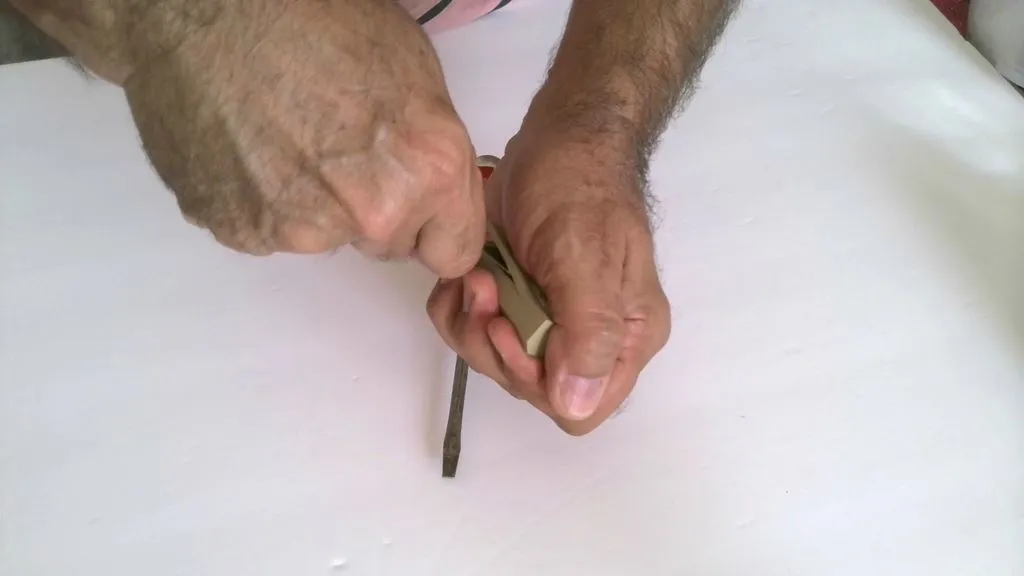
Tools we need: flat screwdriver, small knife, the battery and our own two hands. In my example I did not use the screwdriver because it was relatively easy to insert the knife (step 2).
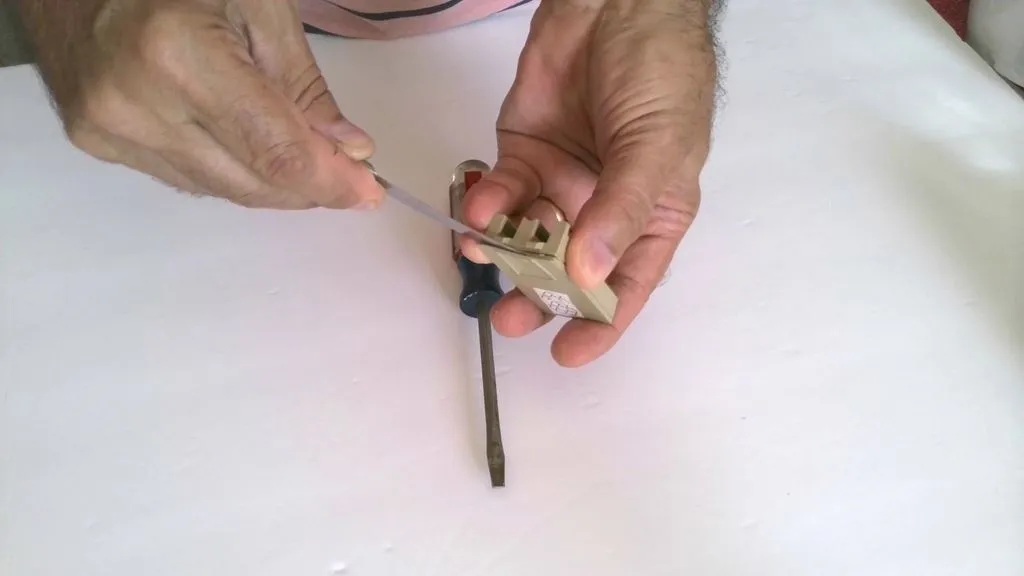
Step 1: Start forcing the battery apart above the contacts as shown. That is the weakest place for the battery and it is usually possible to force the two parts a fraction of a millimeter apart, enough to place the knife in the crack. Very careful here, we do not want to crack the plastic shell and especially the two locking tabs that will keep the battery in place when installed in the calculator.

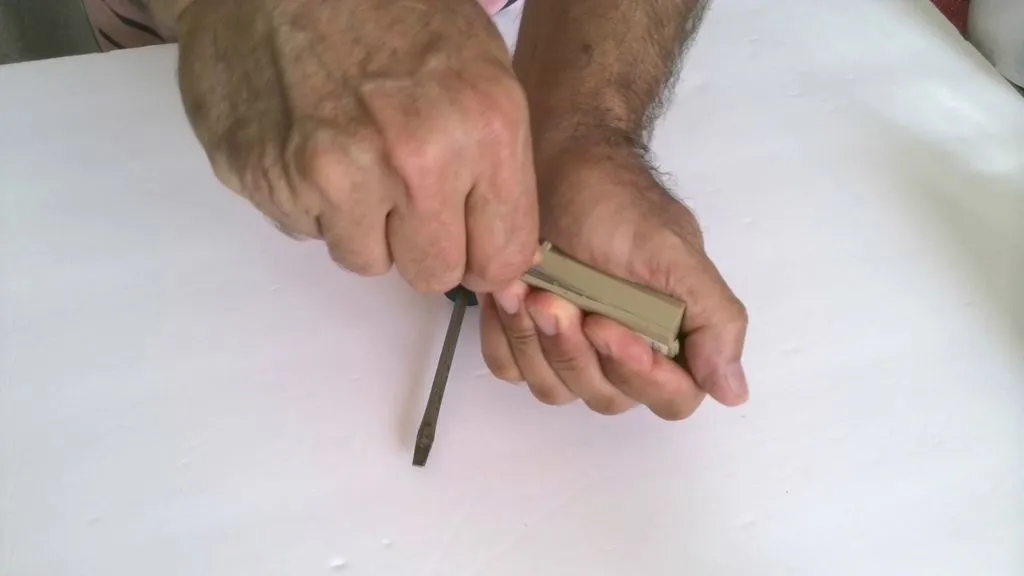
Step 2: Now that the two tabs are no longer used for support, insert the knife in the crack and gently and slowly force the two parts of the case apart.
It is possible the battery will be well put together and repeated attempts need to be made, on each side. Never apply too much force, and always keep your movements small. Hold the battery tight in your hand. If it does not work, try the other side, and alternate applying force until one side gives. It always does, when this point is reached.

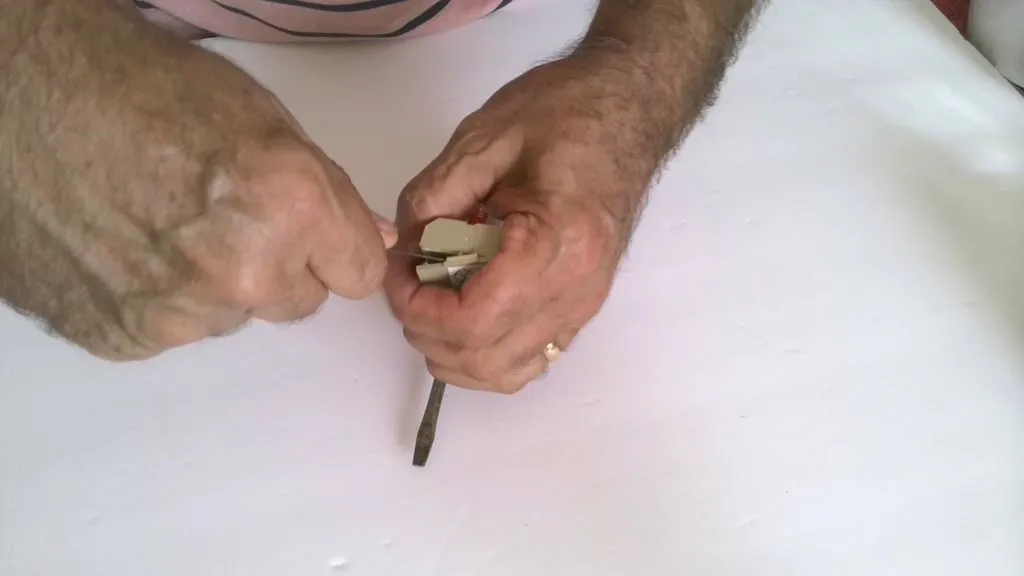
Step 3: Go around the battery applying force with the knife (twist the knife) until the whole perimeter was traced. Again, if one side resists, go to the other side and come to it later. Repeated attempts will weaken the bond between the two plastic pieces.
And success! We have separated the battery, it will be now possible to replace the NiCd cells and put it back together.

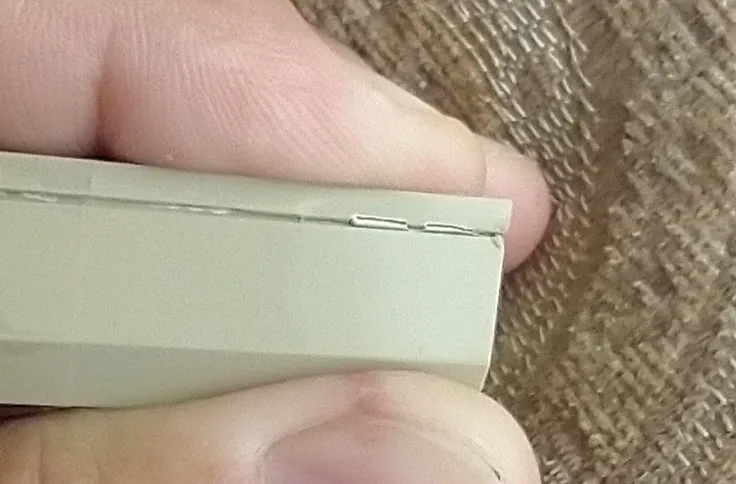
In rare instances the separation will not be ON the original line but the plastic will crack close to the original glued line like below. Do not worry, when the case will be put back together it will still fit well, like in the second image. The problem will very likely not even be visible, in the finished refurbished battery.

What to do when the case can not be cracked easily? This is an example: remove the plastic strip between the batteries like in the image below. You will still be able to use the battery, it will be fully functional and will work well. Plus, the cells will be very easy to change!
Good luck!

